"You are so creative!" I have heard that phrase constantly since I was little. DIY, Refashioning, Crafting, Sewing, Woodworking. I love it all! Now I have a place to keep my favorite projects or ideas organized and share them with you!


Wednesday, December 22, 2010

The Best "White Elephant" Gift Idea EVER!!!

Yep it is time once again for the annual white elephant gift exchange at my husband's work!

Last year he brought home a banana keeper.

This year he came home with something FUN and Creative and it made me realize I was missing a great opportuntity to get into this exchange instead of just shipping off something from our house that we don't need or use.

This was what he walked in the door with..

Photobucket

This small styrofoam cooler... and this waterproof note inside.

Photobucket

It says:

Mystery Ice "Made in the USA"
What's inside?
A lot of  $5,
Or $10,
Or Panera Gift Card
Thaw to find out!

This is a photo of the full gift in all it's glory!

Photobucket

The waterproof note, The "ice formation" and some crumpled newspaper it was sitting on top of inside the Styrofoam cooler.

So we set it in the sink and let the kids have fun melting the ice. We thought of  just letting it melt on it's own, but that is no fun, we thought of using a hair dryer, but with kids there is too much of a chance of electric shock. So we went with the hot water tap.

As the ice melted the kids were very excited when they saw this.
Photobucket

But as you and I can tell these were not real $5 bills.

So we flipped it over and let them start melting the other side and started to see this.

Photobucket

I was thinking at this point "Oh yeah... mama's gettin' a Panera card for Christmas!!!!"

Photobucket

But that is just what they wanted us to think.. Guess what. The Gift card paper thing was empty.

There was still a pretty thick chunk of fake money that was frozen so they kept melting it away.. And saving some bills to play restaurant with later. They had to go on the drying rack.

Photobucket

Then the money chunk began to fall apart under the water pressure and when they pulled the pieces back they found this little plastic package between the layers...

Photobucket

Photobucket

Looks like Mama got her gift card after all!!

Photobucket

Look at the reciept! It is worth $10

So the answer to the mystery... What's Inside???

All three!

A Panera gift card
$10
and a bunch of (fake) $5 bills.

I thought this gift was awesome!!! Fun and Creative!

I think it got to the right family, we had a BLAST uncovering the mystery!

Linking up here:


Recycle! DIY Shrinky Dink!

Well it is the first day of Christmas Vacation and for the first time in a long time I am home with all three of my kids.

I was trying to come up with ideas of things I wanted to do with them, like many of you out there, and I had a nice little list that involved baking, (but I knew I would just eat too many cookies if we did) I had a list planned out, but just like I always end up doing, we got distracted by a random craft project opportunity and we wanted to share it with you.

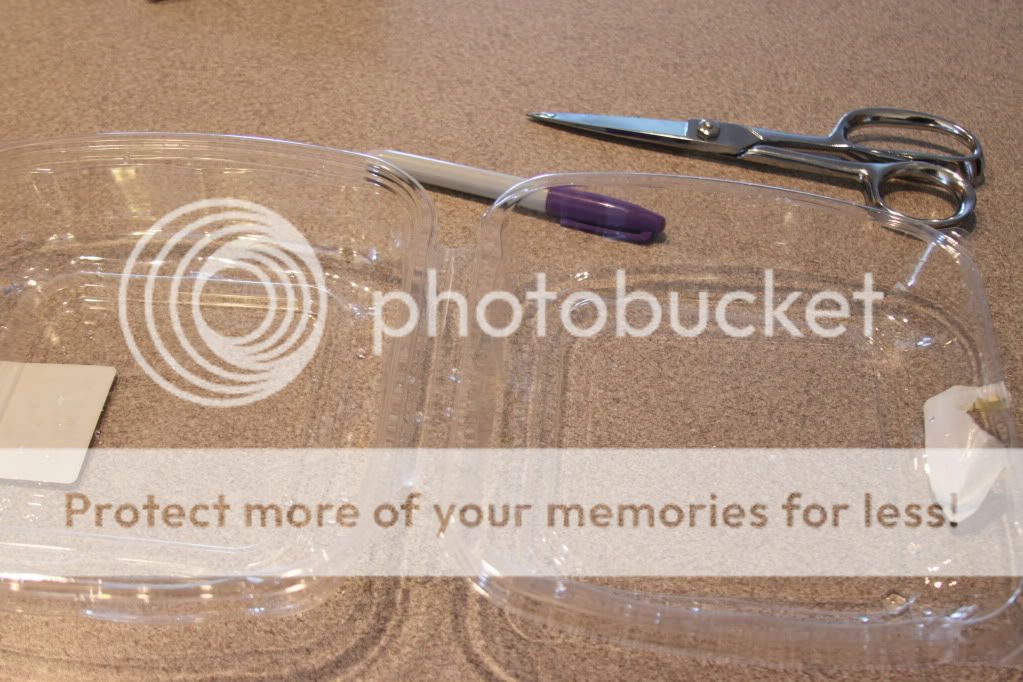
We were lucky this week when dad brought doughnut holes home from the store bakery for breakfast. They came in this nice little plastic container. I was just about to pop it in the recycle bin when I remembered I was throwing away free shrinky dink.

Photobucket

Yep that's right this stuff is just the same stuff as shrinky dink!

So we cut out some larger flat pieces...

Photobucket


Colored them with Sharpie markers, (with supervision of course)

Photobucket

This is how big they were before we shrunk them.

Photobucket

Then we popped them in 350 degree toaster oven and watch the magic happen.

Photobucket

Photobucket

After they shrink we took them out and tapped them flat with some cardboard.
This is the after product.

Photobucket

Photobucket

Hope you have a chance to try it out!

Linked up here:

Tuesday, December 21, 2010

Classroom Holiday Project I-spy Bottles.

So many families travel around Christmas time.

So for my daughter's classroom party this year we decided to make I-Spy bottles.

Photobucket

They are a craft project..
They are a toy...
They are great to play with on long car trips..

We gathered all the little objects we could find, and then took a photo then edited it to add the text. I also punched a hole using a hole punch.
Photobucket


The classroom teacher sent a note out to all parents after Thanksgiving asking for empty plastic bottles with lids.

I bought some rice and decided to color some of it. Do this by mixing food coloring with one T of vinegar per cup of rice you are coloring. I did 4 cups of each color this time and used around 20 drops of color. Then I mixed it in a Ziploc bag and spread it out to dry on freezer paper.

Photobucket


I love colored rice, isn't it pretty!

Photobucket


Photobucket


Photobucket


Once dry I dumped it into this little tub.

Photobucket


Oooo pretty!

Photobucket


At the party the kids will each have a bottle and walk down the line grabbing one of each thing that is on the table and putting it into their bottle.

We are blessed to have 8 awesome parent helpers coming for the classroom party, so I am making use of 4 to make thing run smoothly. They all want to help in some way anyway.

We will have one parent be on colored rice duty and will hold a funnel in the bottles for the kids to put a few spoon fulls of colored rice in their bottles.

We will have another parent on white rice duty. This time the kids will hold the funnel and the parent will fill the rest of the bottle with white rice but leave an inch or two empty at the top so the rice can move.

Then one parent will be on glue duty, we are using Elmer's Nano glue, a little goes a long way since it expands.

The last  parent helper will be having the children hold a fabric square over the top of their bottles as they tie a curling ribbon around the bottle neck to hold the fabric in place and keep any extra glue off little fingers.

They will also attach the photo search card to the ribbon.

But alas I won't be there to see it happen, my youngest is sick and I am not able to leave him with  a sitter or bring him into the classroom so they will just have to go on without me. So I got the project already to go!
Photobucket

It should go well. I have detailed instruction card for each helper. :)

We also did this project for the Hood Magazine Free Make and Take and it worked out great! We had 64 kids make a bottle that day!

Photobucket

Linking up here:


Monday, December 20, 2010

"Recycle/Reuse" Melted Snoman Ornament

Photobucket


We went out to a restaurant last night for dinner and brought home our leftovers in Styrofoam containers. I was just about to toss them in the garbage when I remembered I had seen a melted snowman ornament idea here.

Well they are cute, but I wanted something my kids could make and the hot melted glue from a glue gun for a body wouldn't work. So when I saw the Styrofoam I knew that I could make this a project for my 1 and 3 year old, and recycle too.

Photobucket


I cut out wiggly circle shapes from the take out boxes, and we used black duct tape eyeballs, green electrical tape for a scarf, brown paper sack for arms, and the tip of a cable tie for a carrot nose.

Photobucket


Use what you've got I always say. Fun quick little project for the boys today. They had fun sticking and gluing their parts on wherever they wanted.

Photobucket


Photobucket

Linked up here:
Katie's Nesting Spot

Sunday, December 19, 2010

Dino Hats


Christmas time! I just had to make my nephews some new hats for their Christmas gift. Their old ones were a bit too small. Plus I had never made a hat before!


And the pattern??
Free!
I modified the it by added some straps for my nephews. Two year old's need straps.

I love how they turned out.

For the free printable pattern and tutorial visit here!


This post was featured on:


Today's Top 20

Thursday, December 9, 2010

Wire Napkin Rings

Photobucket

I have had a few posts about working with wire now. I am telling you once you start you will find all sorts of things to use this stuff for. It becomes so useful to have a roll of wire around.
Well using the same techniques I used for the spiral pumpkin decorations you can make these awesome napkin rings. Great for a gift for a friend family member or neighbor.  I used to sell these at my mothers craft booth when I was in high school. They were pretty popular, and so simple to make.

What you need:

Photobucket

Wire, I get mine at a local hardware store called Ace.
Needle nose pliers
Wire cutter, (sometimes the pliers has one on it already) The one pictured above does.
Empty small container, like a travel shampoo bottle.


How:

Photobucket

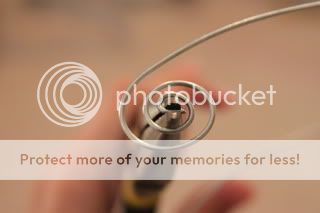
Take your pliers and hold the end of the wire with the end of the pliers. Then hold the rest of the wire with your left hand. Start to twist the wire around the end of the pliers by twisting the players.

Photobucket


Now you wrap the wire in a loop around something round like a travel shampoo bottle. This will make your loop for putting your napkin in.

Photobucket

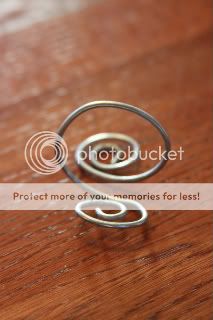
Once you are back to the spiral again you are going to leave two inches and then cut off the end of the wire. Then you use your pliers to make a spiral with the new cut end until your spiral is lined up with the first.

Photobucket

Doesn't cost much for some wire, but the WOW factor, is priceless!

Photobucket

Linking up here:

Katie's Nesting Spot


The Trendy Treehouse
 
NightOwlCrafting

Black Kats Design


Photobucket